Photorealistic Rendering: How to Create Realistic Architectural Images [2026]

Photorealistic rendering is the art of making a 3D model look like a photograph. Done well, clients can't tell the difference between a render and a photo of a finished building. Done poorly, something feels off — even if they can't explain why.
This guide covers what makes renders look real, the techniques that separate amateur work from professional output, and how AI is changing what's possible in 2026.
What Is Photorealistic Rendering?
Photorealistic rendering is the process of generating an image from a 3D model that mimics how light behaves in the real world. The goal is an image indistinguishable from a photograph.
This matters because architectural visualization exists to answer one question: what will this look like when it's built? The closer a render gets to reality, the better it answers that question.
Photorealistic rendering requires three things working together: accurate geometry, physically correct materials, and realistic lighting. Miss any one of these and the image falls into the uncanny valley — close enough to real that our brains expect reality, but off enough to feel wrong.
Why Photorealism Matters in Architecture
Client Communication
Most clients can't read floor plans. They struggle with elevations. But everyone understands a photograph. Photorealistic renders bridge the gap between technical drawings and client understanding.
This isn't about impressing clients with pretty pictures — it's about reducing misunderstandings. When a client approves a design based on a photorealistic render, they know what they're approving.
Design Validation
Photorealistic rendering forces decisions. Abstract diagrams let you postpone material choices, lighting design, and finish selections. A photorealistic render requires specificity — you can't render "some kind of wood flooring." You have to pick one.
This specificity catches problems early. That window placement that worked in plan might create glare issues visible only in a rendered view. The material palette that seemed cohesive in swatches might clash when applied to actual surfaces.
Marketing and Pre-Sales
For developers, photorealistic renders are sales tools. Pre-sales often depend entirely on visualization quality. A buyer purchasing a $500,000 condo off-plan needs to see exactly what they're getting.
The standard has risen dramatically. Ten years ago, any render impressed clients. Today, buyers expect photography-quality images — because that's what competitors are showing them.
The Technical Foundation of Photorealism
Light Behavior
Real-world light does complex things. It bounces between surfaces, picking up color along the way. It scatters through translucent materials. It creates soft shadows and hard shadows depending on source size. It reflects off glossy surfaces and absorbs into matte ones.
Photorealistic rendering engines simulate this behavior through ray tracing — calculating the path of light rays as they bounce through a scene. The more bounces calculated, the more realistic the result — and the longer the render takes.
Global illumination handles indirect light — the light that bounces off a white ceiling and fills a room with soft ambient glow. Without it, shadows are pure black and scenes look like they're lit by spotlights in a void.
Material Properties
Real materials have measurable physical properties:
Albedo — the base color of a material, independent of lighting
Roughness — how much a surface scatters reflected light (mirrors are smooth, concrete is rough)
Metalness — whether a material reflects like a metal (colored reflections) or a dielectric (white reflections)
Normal maps — surface detail that affects how light interacts without changing geometry
Displacement — actual geometric detail for things like brick mortar lines or wood grain
Getting these properties wrong is the fastest way to break photorealism. A material might be the right color but the wrong roughness — and something will feel off even if viewers can't articulate why.
Camera and Lens Simulation
Real cameras have characteristics that our eyes expect in photographs:
Depth of field — near or far objects blur based on focus distance
Lens distortion — slight warping, especially at wide angles
Chromatic aberration — color fringing at high-contrast edges
Vignetting — slight darkening at image corners
Exposure and tone mapping — how bright areas and shadows compress into a viewable image
Renders that skip these effects look "too perfect" — hyperreal in a way that reads as artificial.
Traditional Photorealistic Rendering Workflow
The conventional approach to photorealistic architectural rendering:
1. Model Preparation
Start with clean geometry. Non-manifold edges, flipped normals, and intersecting faces cause rendering artifacts. The model needs proper UV mapping for textures to apply correctly.
This step often takes longer than actual rendering. A model built for construction documents needs significant cleanup before it's render-ready.
2. Material Assignment
Apply physically-based materials to every surface. This means:
Finding or creating appropriate textures
Setting correct roughness and reflection values
Adding normal maps for surface detail
Scaling textures appropriately (a 1-meter tile shouldn't stretch across a 10-meter wall)
Material libraries help, but every project requires custom adjustments. The oak flooring that worked in your last project might be wrong for this one.
3. Lighting Setup
Position light sources and configure their properties:
Sun angle based on location, date, and time
Artificial lights with correct color temperature and intensity
Environment lighting (sky, surrounding context)
Interior bounce lighting considerations
Lighting makes or breaks photorealism. The same model with different lighting can look amateur or professional.
4. Camera Placement
Find angles that show the design effectively while maintaining realistic perspective. Set focal length, height, and composition. Configure depth of field and exposure settings.
5. Rendering
Hit render and wait. A single high-quality photorealistic image might take 30 minutes to several hours depending on complexity, resolution, and hardware. Render farms can parallelize this work but add cost and workflow complexity.
6. Post-Processing
Even the best renders need adjustment:
Color correction and grading
Exposure adjustments
Adding people, vehicles, vegetation
Compositing render passes (reflections, shadows, ambient occlusion)
Final sharpening and output
Photoshop or similar tools handle this final polish.
What Makes Renders Look Fake
Understanding common failures helps avoid them:
Perfect Geometry
Real buildings have imperfections. Walls aren't perfectly flat. Edges aren't perfectly sharp. Materials have variation. Renders that show mathematically perfect geometry read as artificial.
Adding subtle imperfection — edge wear, surface variation, slight misalignments — sells realism.
Uniform Materials
A real brick wall has variation. Each brick differs slightly in color and texture. Mortar lines vary in depth. Some bricks are chipped. Renders that tile the same texture across large surfaces look fake.
Use textures with sufficient variation, add decals for unique details, and vary material properties across surfaces.
Wrong Scale
Scale errors break photorealism instantly. Furniture that's 5% too large. Ceiling heights that don't match real buildings. Texture scales that make bricks look like cinderblocks.
Always model to real-world dimensions and verify texture scales against physical references.
Clinical Lighting
Real spaces have lighting variety. Shadows aren't pure black. Highlights aren't pure white. Light has color — warm from tungsten, cool from north-facing windows.
Flat, even lighting reads as artificial. Embrace contrast, color variation, and directional light.
Empty Spaces
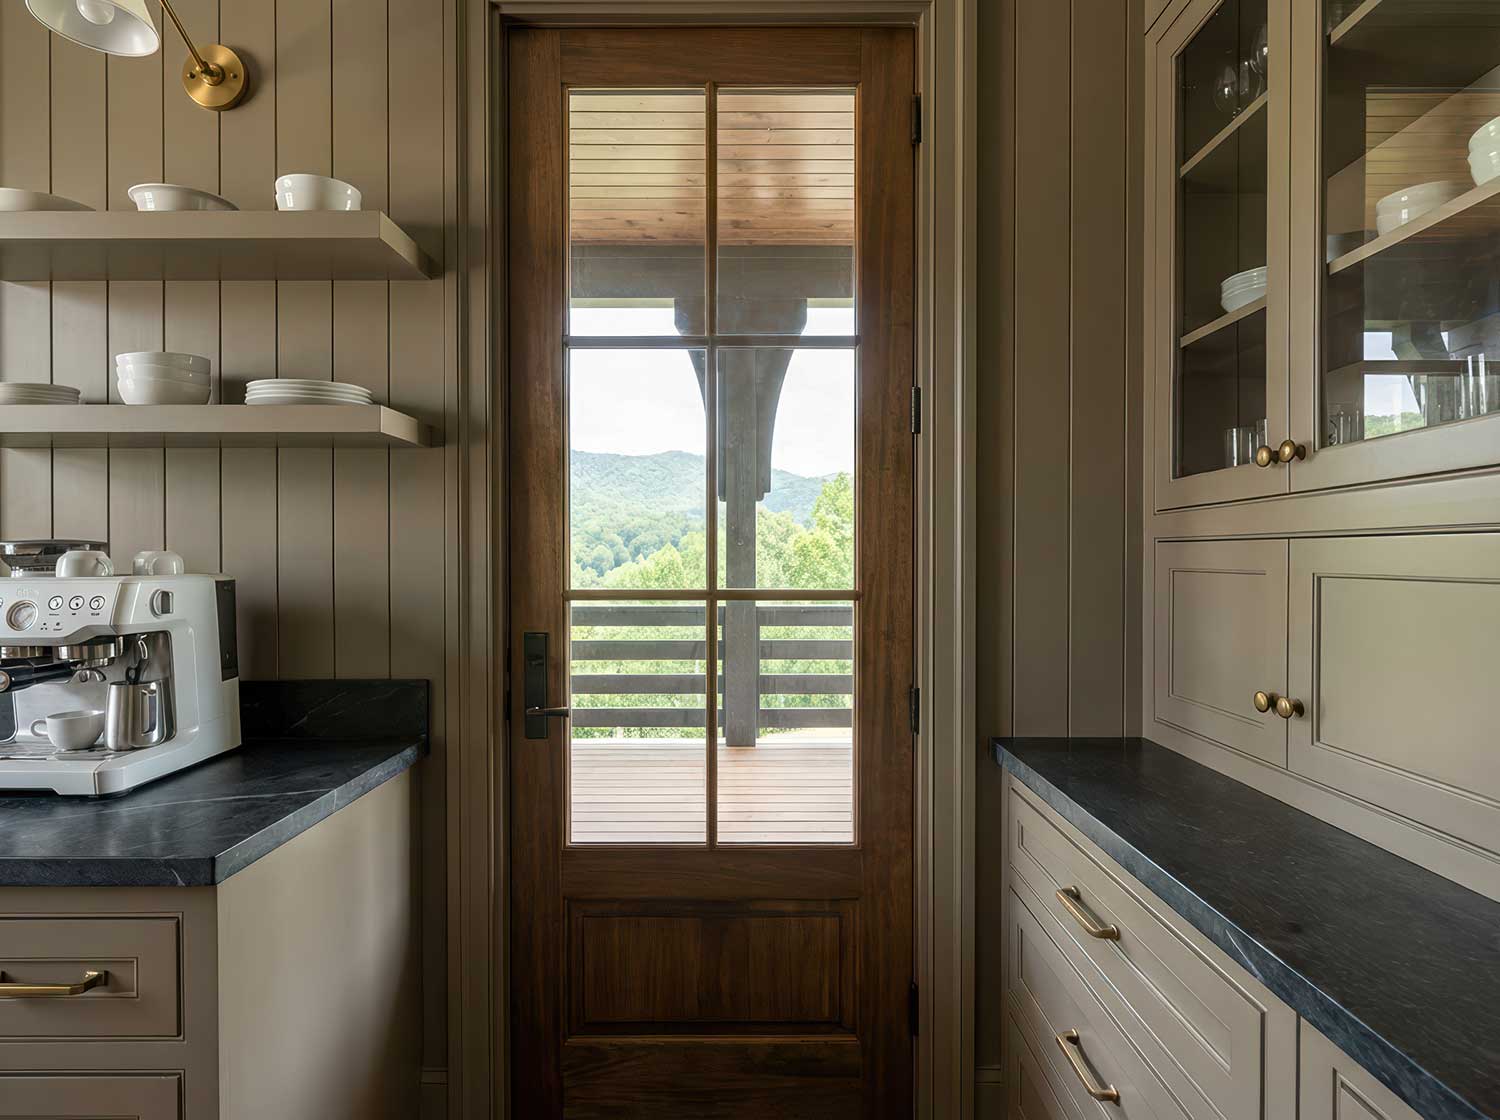
Real buildings have stuff in them. Books on shelves. Dishes in sinks. Jackets on hooks. Renders of sterile, empty spaces feel like model homes — technically correct but lifeless.
Staging adds authenticity. Even minimal props — a coffee cup, an open book — suggest habitation.
AI and Photorealistic Rendering
Traditional photorealistic rendering requires significant expertise and time. AI is changing this equation.
How AI Rendering Works
AI rendering tools use neural networks trained on millions of images to understand what "photorealistic" means. Given an input — a 3D model view, a sketch, or a simple render — the AI generates a photorealistic interpretation.
This bypasses much of the traditional workflow. The AI handles material appearance, lighting, and atmospheric effects without explicit configuration.
Advantages of AI Rendering
Speed — AI renders generate in seconds, not hours. What took overnight now takes moments.
Accessibility — No rendering engine expertise required. No GPU hardware investment. No render farm costs.
Iteration — Fast output enables rapid exploration. Try ten options instead of committing to one.
Quality floor — AI renders achieve a consistent quality baseline. The gap between amateur and professional output narrows.
Limitations of AI Rendering
Control — Traditional rendering offers precise control over every parameter. AI rendering offers less direct control — you guide rather than specify.
Consistency — Getting identical results across multiple renders requires careful prompting. Traditional renders are deterministic; AI renders have variation.
Accuracy — AI interprets rather than calculates. It might change proportions, add elements, or modify materials. For contractual accuracy, this matters.
ArchRender: AI Rendering with 3D Model Input
Most AI rendering tools work from 2D images — screenshots or sketches. This limits control over camera angles and requires re-export for each view.
ArchRender takes a different approach. It imports actual 3D model files — OBJ, FBX, or GLB — preserving geometry and camera control. Upload once, render from any angle. The AI handles photorealistic material and lighting generation while you maintain spatial accuracy.
This matters for photorealistic architectural rendering specifically because buildings need to be shown from multiple angles. A single hero shot isn't enough — clients want to see the entry, the backyard, the street view, the aerial. With 3D model import, these views generate without returning to modeling software.
Photorealistic Rendering Software Options
Traditional Rendering Engines
V-Ray — Industry standard for maximum quality. Steep learning curve, exceptional results. Used by top visualization studios worldwide.
Corona Renderer — Similar quality to V-Ray with arguably simpler workflow. Growing rapidly in architectural visualization.
Lumion — Real-time rendering focused on speed and ease. Quality has improved dramatically. Excellent for rapid iteration.
Enscape — Real-time renderer that integrates directly into Revit, SketchUp, and Rhino. Lower ceiling than V-Ray but much faster workflow.
Twinmotion — Free for non-commercial use. Powered by Unreal Engine. Strong quality-to-effort ratio.
D5 Render — Real-time renderer gaining popularity. Good balance of quality, speed, and price.
AI Rendering Platforms
ArchRender — Imports 3D model files for multi-angle rendering with AI-powered photorealistic output. Maintains camera control while automating material and lighting.
Midjourney — Text-to-image AI capable of architectural imagery. No geometry input — purely prompt-driven.
Various screenshot-based tools — Accept 2D exports and apply photorealistic rendering. Limited to single views per upload.
Getting Started with Photorealistic Rendering
For architects new to photorealistic rendering:
If You Want Maximum Control
Invest in learning V-Ray or Corona. The learning curve is real — expect months to proficiency. But the ceiling is highest here. Studios producing award-winning work use these tools.
If You Want Speed and Simplicity
Start with Lumion, Enscape, or Twinmotion. Real-time feedback accelerates learning. Quality is sufficient for most client presentations.
If You Want Fast Results Now
AI rendering tools like ArchRender eliminate the learning curve entirely. Upload your model, generate photorealistic output. The quality rivals traditional rendering for many use cases, at a fraction of the time investment.
Hybrid Approaches
Many practitioners combine approaches. Use AI rendering for rapid concept exploration and client feedback. Switch to traditional tools for final marketing deliverables requiring maximum control.
The best tool depends on your constraints: time, budget, control requirements, and quality expectations. Photorealistic rendering has never been more accessible — the gap between "quick concept" and "marketing-ready image" continues to shrink.
Tips for Better Photorealistic Renders
Regardless of tool choice:
Study real photographs — Train your eye by analyzing what makes photos look real. Notice how light falls, how materials read, how imperfection adds authenticity.
Get materials right — Spend time on material accuracy. The difference between good and great renders is often material quality.
Light intentionally — Don't accept default lighting. Think about sun angle, time of day, artificial light color temperature. Light shapes perception more than any other factor.
Add context — Buildings exist in environments. Include surrounding context, vegetation, sky. An isolated building floating in void reads as artificial.
Include life — People, vehicles, birds. Signs of habitation. Renders with life feel real; empty renders feel like simulations.
Embrace imperfection — Perfect is fake. Add subtle wear, variation, asymmetry. Reality is messy.
Ready to create photorealistic renders in seconds? ArchRender imports your 3D models and generates realistic architectural images instantly — no rendering expertise or GPU hardware required.